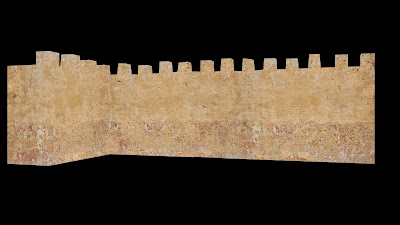
Assign a lambert to simple geometry.
Assign new material via the colour option box.
In the Hypershade, assign your file (However, right click on this option and it will give you a list of options. Select 'Create As Projection'
In the attributes of the camera you wish to project from, change the Proj. Type to 'perspective', and change the Link To Camera to your desired camera.
Fit type: Match camera film gate.
Back up to Projection Attributes Controls, assign your image by selecting the option box.
Afterwards, select your camera you have just assigned your image to, and 'look through selected'.
Render your scene. Not only will your render time be small, but you will also find your image projected into your geometry perfectly. You can obviously swap and change certain attributes to suit your desired look.
I've only spent 5 minutes doing these few projections. They are all matte paintings and have each been generated based on the outcome I desired.
(Below) Alpha channels of geometry + Main Wall Image Projected

(Below) Wall Objects. When your camera projects, if you have assigned the image projection to the correct wall/object then the projection with travel through other objects be default.
(Below) Bump maps assigned as textures to geometry and final colour over-projections.
Final Renders Complete With Sky.


No comments:
Post a Comment